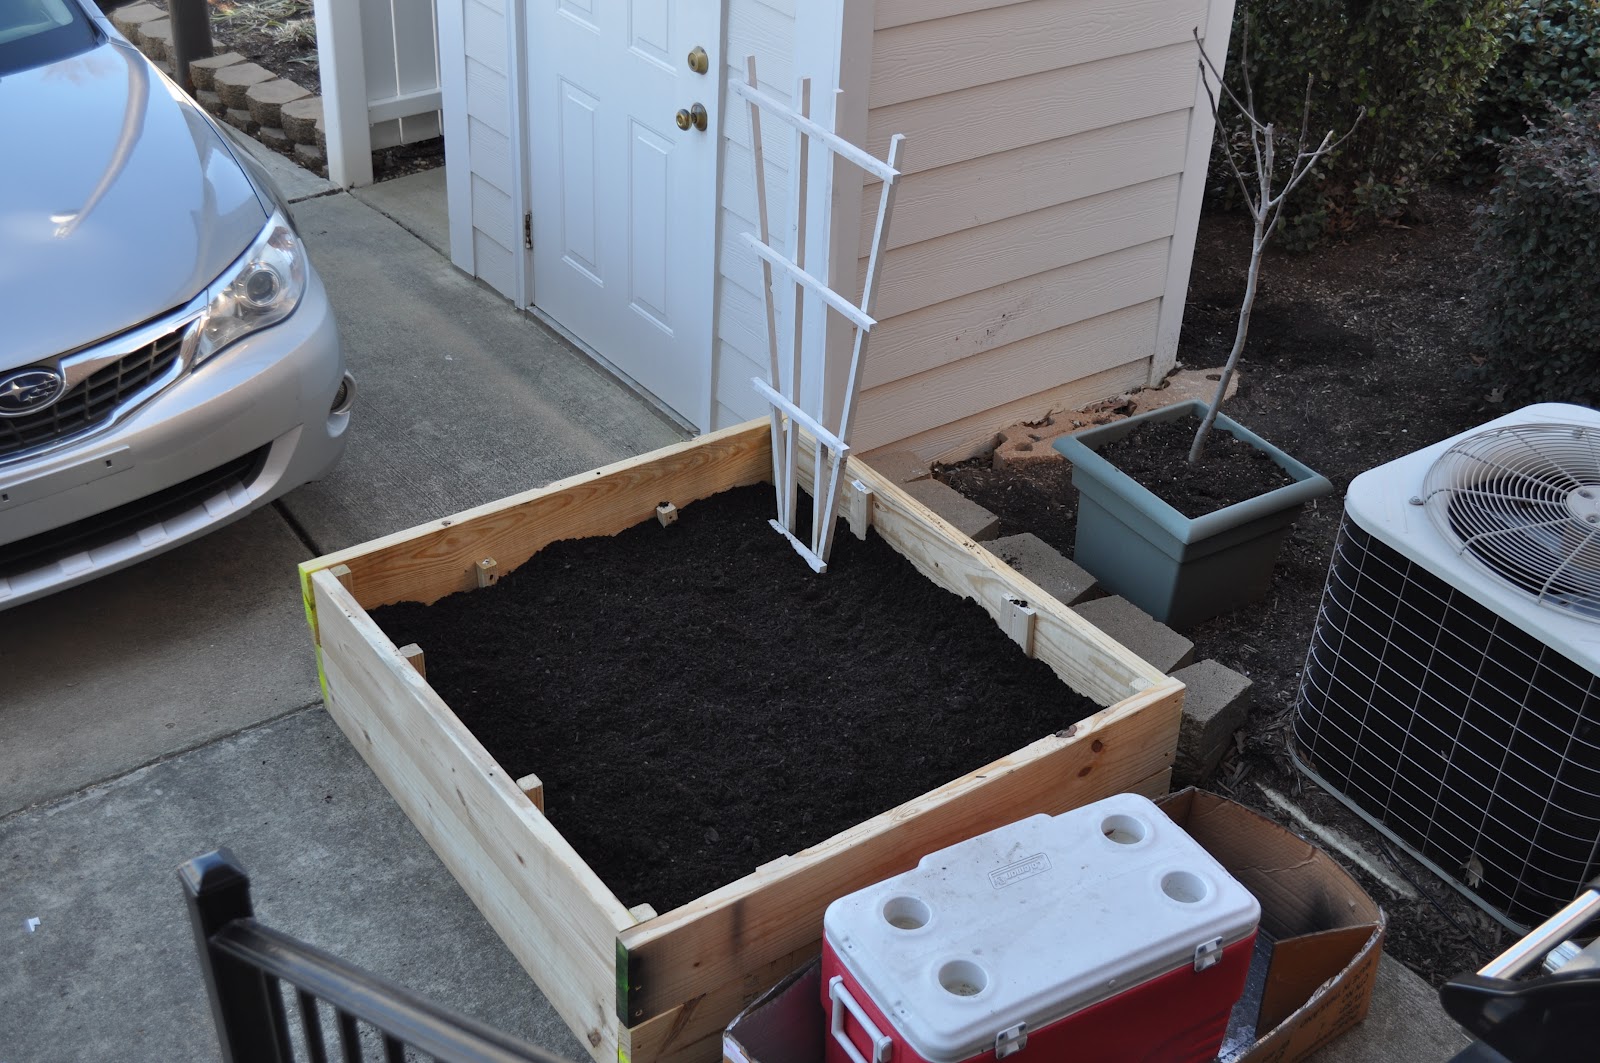
Whether or not you have a little porch 10 stories off the ground or a little plot of grass, you can make the perfect outdoor space. Don't let space discourage you from planting a garden. It may not be as elaborate or as large as you want it to be but it can be done. Trust me :). We turned our driveway into our outdoor space and garden. Who needs them anyway... streets are perfectly acceptable for parking.
Now that we're moving, I'll have to come up with some new ideas. Ooooo goodie.
Here's our little oasis for now:
 |
| Thai basil |
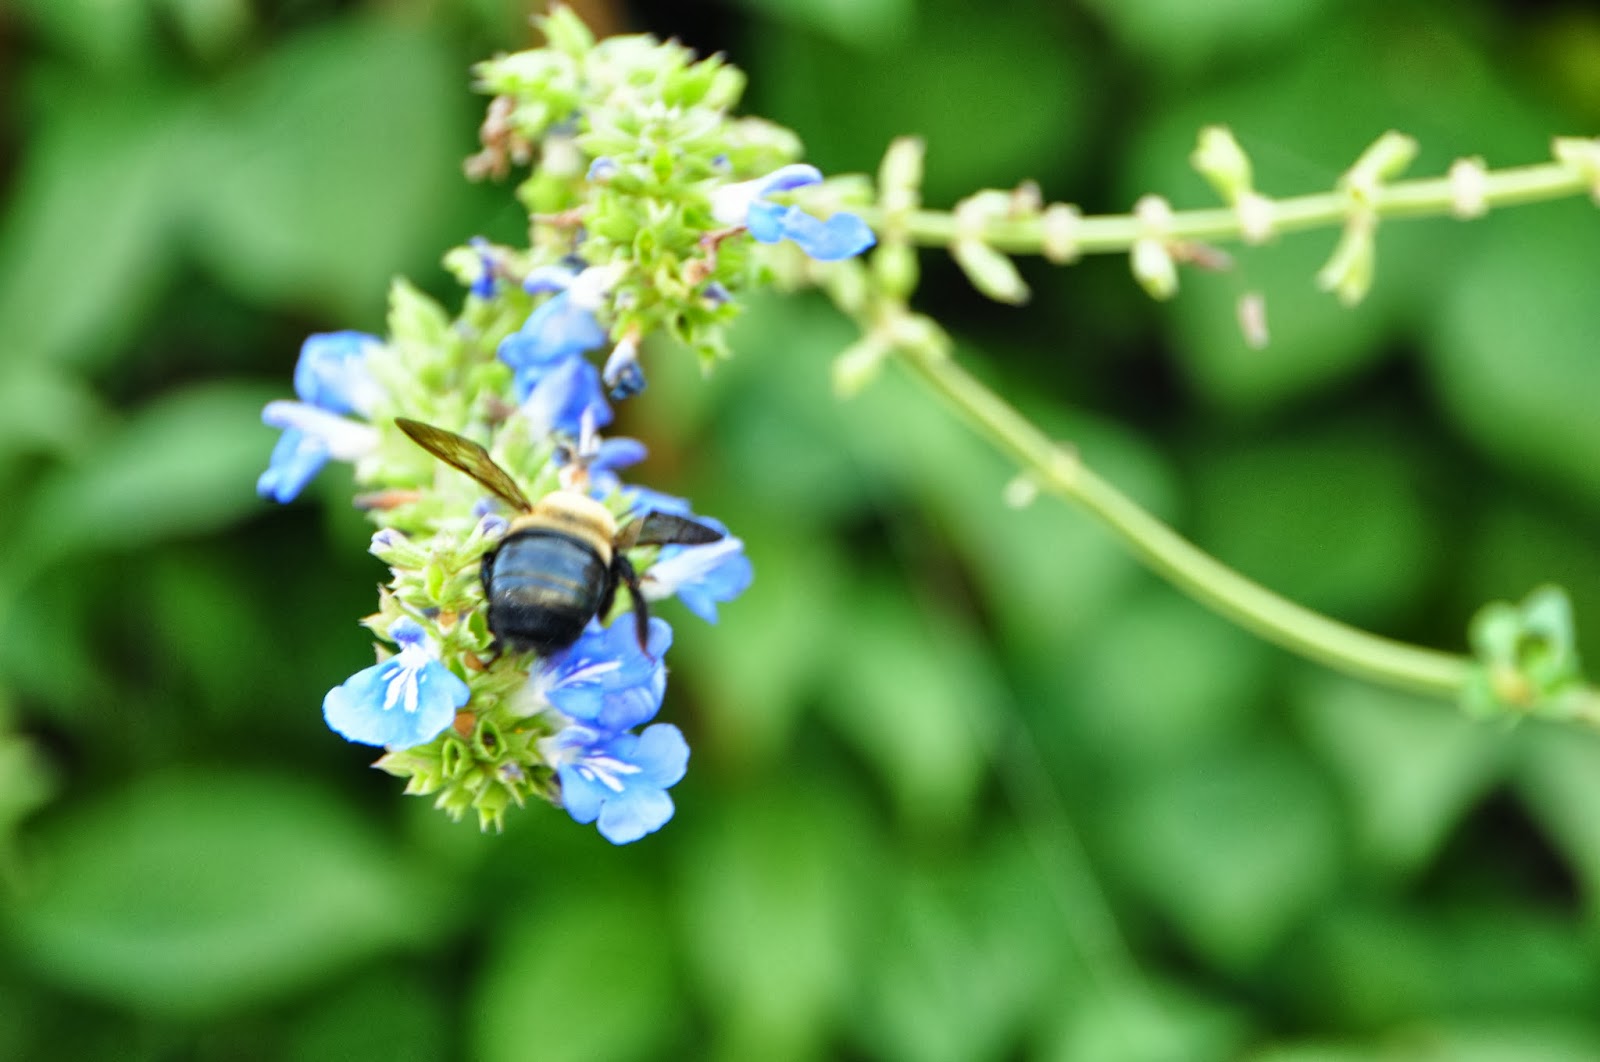 |
| bee butt! |

 |
| this African basil is our neighbors but I love, love, love it, as do the bees. |


 |
| baby broccoli |


When growing in small spaces...
Think vertical
Where can you go up? Do you have a fence or side of the house where the sun hits? Do you have a table in your outdoor space big enough to put a little pot on. I've seen cool vertical gardens using pallets and hanging shoe organizers.
Plant in containers
No dirt. No problem. Get a couple pots, old recycling bins, whatever and plant your veggies/flowers in them.
Use unused space
Is there a corner being wasted? Plant something there. Put a pot there. Hang a vertical garden. Anything. Use the space you have!
Cluster
Plant things in the same container. Throw a few basil seeds, tomato seeds and flowers all in the same container.
Think outside the pot
If you think it'd be cool to grow something in, try it. Hang plants off the side of a balcony, from the ceiling, anywhere. Your options are endless if you don't limit yourself to what you typically see.
Plant indoors
Succulents are all the rage right now. You can always bring the garden indoors with these adorable little guys. All rules above apply inside as well. You can get amazing artwork out of these things and hang them on the wall, on your door, or use them as a centerpiece. Check out The Little Garden for some cute indoor gardens.